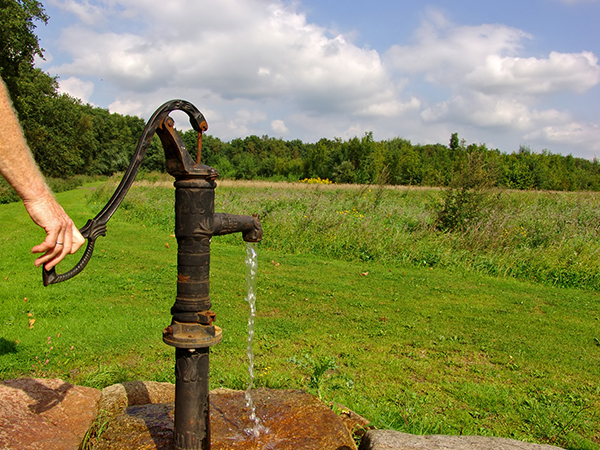
If your well pump suddenly stops delivering water, the issue may be as simple as losing its prime. Whether caused by a power outage, a leak in the suction line, or air entering the system, a de-primed well pump can’t move water into your home. To accomplish this, you will need to flush the air out of the system and repressurize it.
Priming a well pump is a straightforward task that can be easily managed. In this guide, we’ll cover what you need, provide the steps to safely re-prime the pump, share common mistakes to avoid, and explain when it’s time to call our professional team at Haller Enterprises.
What Is Priming?
Priming a well pump involves filling the pump with water to create the necessary pressure to draw water from the well. This process eliminates trapped air, allowing the pump to function properly. Jet well pumps usually require manual priming. Submersible pumps, which sit inside the well below the waterline, are self-priming and generally do not need this type of maintenance.
Step-by-Step: Priming Your Well Pump
Before you begin, gather the following:
- 5 to 10 gallons of clean water
- A screwdriver or wrench that fits your pump model
- Hose or bucket
- Teflon tape to reseal the fittings
- A flashlight
- Protective gloves
- Towels for potential spills
Step 1: Turn Off the Pump’s Power
Safety should always be your first concern. Go to your electrical panel and turn off the circuit breaker that powers the pump. This keeps it from powering on while you’re working on it, ensuring your safety throughout the process.
Step 2: Locate the Priming Plug
Find the priming plug or fill cap, usually positioned on the top of the pump housing. This is where you add water to re-prime the system. Use the proper tool to remove the plug.
Step 3: Add Water
Carefully pour water into the priming port using a hose or clean bucket. Keep adding water until the pump housing is full and water slightly overflows from the opening. This helps remove all the air pockets inside the pump. Always use clean water to prevent debris from clogging valves or damaging internal parts.
Step 4: Replace the Priming Plug
Once the pump is full, replace the priming plug and tighten it securely. If you removed any fittings or caps, double-check that they’re sealed properly to prevent leaks.
Step 5: Restore Power and Test the Pump
Turn the breaker back on so the pump can operate. It may take a minute or two to reestablish suction. Watch the pressure gauge to ensure it’s climbing steadily. You should also hear water moving through the pipes.
Step 6: Check the Water Flow
Turn on a faucet inside your home. Run the water for a few minutes to ensure proper flow. This also helps remove any remaining air in the lines.
Common Mistakes to Avoid
Even a simple priming job can go sideways if you’re not careful. That’s why contacting a professional at Haller Enterprises for well pump maintenance is always a smart choice.
Here are common mistakes to avoid:
- Not turning off the power: Always disconnect electricity before working to prevent shocks or accidental starts.
- Using dirty water: Contaminants can damage pump components or clog valves.
- Leaving air pockets: If you don’t fully fill the pump, it may struggle to build pressure.
- Overtightening fittings: This can crack plastic components or damage threads.
If you still hear air sputtering from faucets after priming, you may need to repeat the process or check for leaks in the suction line.
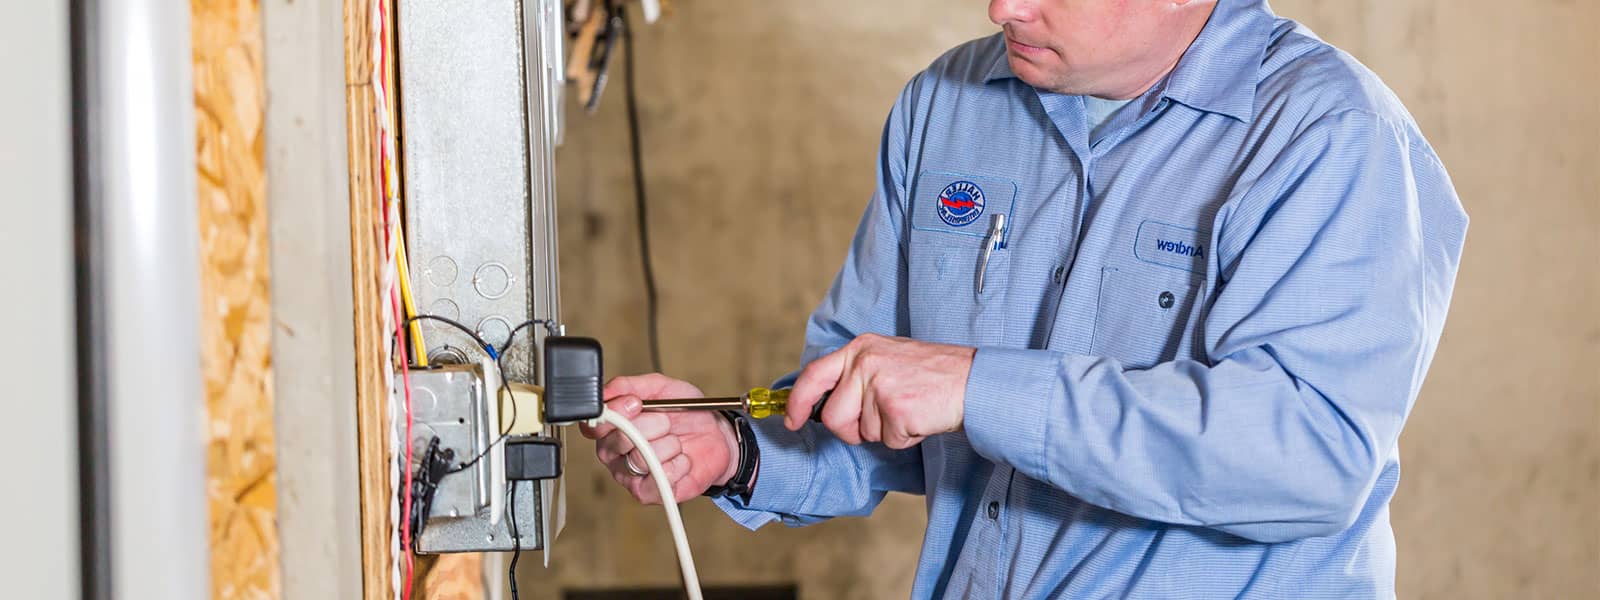
Contact Haller Enterprises Today
While priming a pump may seem like an easy task, some issues are best left to professionals. We have the tools to pressure-test your system, inspect for vacuum leaks, and diagnose mechanical failures that aren’t immediately visible.
Following these steps, you can restore your water supply and avoid unnecessary repairs. But when in doubt—especially when it comes to the water your family drinks—don’t guess. Contact Haller Enterprises today to schedule a plumbing inspection and safeguard your water system, anywhere in Central or Eastern Pennsylvania.